捻じれていた二階の梁(105×270L:3640)を素早く架け替え、根太受けと梁成補強のために45×105を両側からサンドイッチした「発寒の家Ⅲ」です。屋根断熱は最近お気に入りのミラフォームΛ・・EPSでありながらフェノールフォームに迫る性能とコストパフォーマンスが魅力で最近よく使います。基礎断熱に土と接して使える汎用性の高さも魅力。屋根にはこのラムダを200mm(約GW340mm相当)を使います。ちなみに屋根は構造体の外側で断熱する外張り断熱。従いまして今見えている梁等の構造材は全て室内側に存在することになります。こうすることで、いつでも点検が容易になります。
The second floor beam (105 x 270L: 3640) which had been twisted was quickly replaced, and 45 x 105 was sandwiched from both sides to support the joists and strengthen the beam. My recent favorite for roof insulation is Mirafoam Λ...I've been using EPS a lot lately because it has performance and cost performance that rivals phenol foam. It is also attractive for its versatility, as it can be used in contact with soil for basic insulation. For the roof, use this lambda of 200mm (equivalent to approximately GW340mm). By the way, the roof is externally insulated, which is insulated on the outside of the structure. Therefore, all the structural materials such as beams that are visible now are on the indoor side. This makes inspection easier at any time.
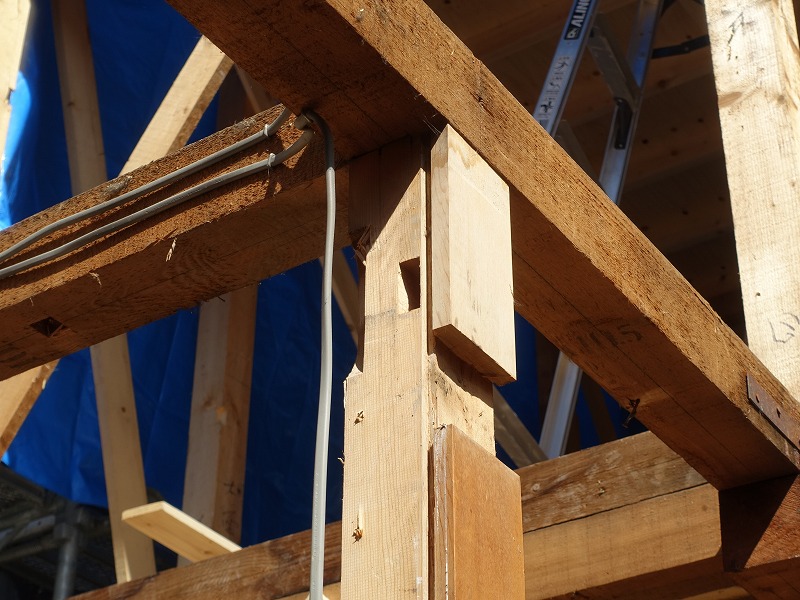
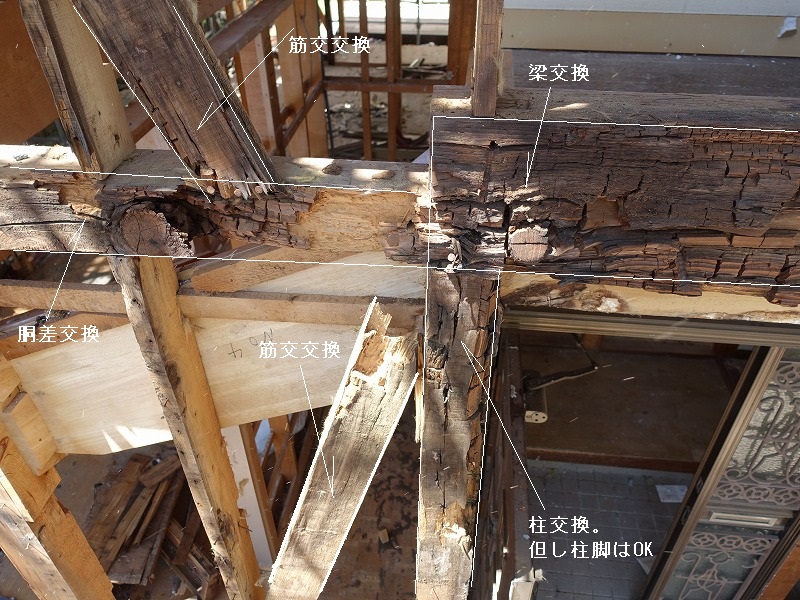
梁を架け替え根太受けと補強を兼ねて両側より45×105で挟みました。
The beam was replaced and sandwiched between 45 x 105 pieces from both sides to support the joists and reinforce it.
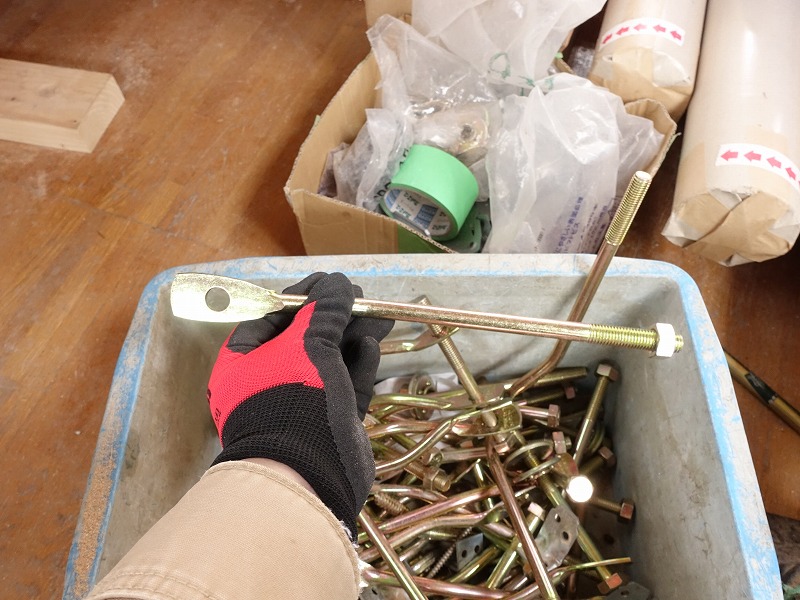
梁と柱の接合は全て羽子板ボルトやパネリードXを用いて補強します。
All joints between beams and columns are reinforced using battledore bolts and panel lead X.
コストパフォーマンスとどこにでも使い易い性格が気に入って最近よく使うミラフォームラムダ。写真は100mm厚です。
I've been using Miraform Lambda a lot lately because I like its cost performance and ease of use anywhere. The photo is 100mm thick.
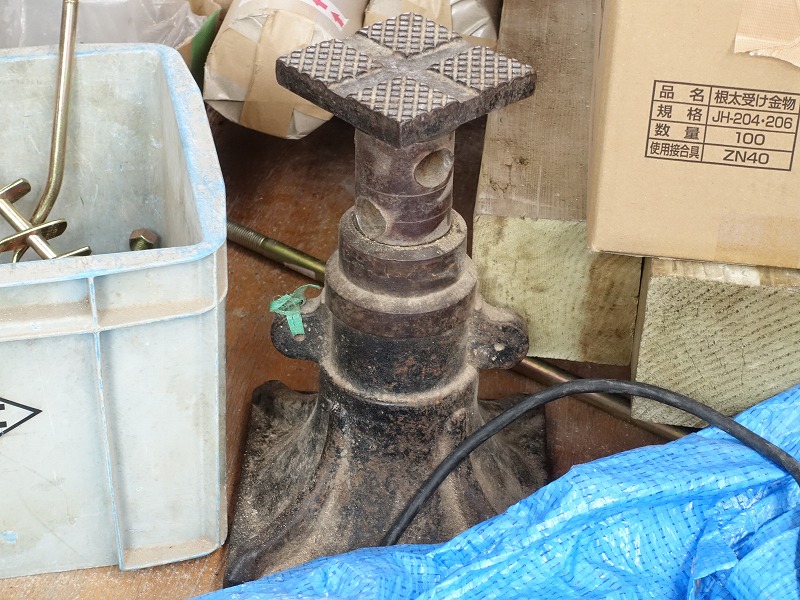
当時の羽子板ボルト(Z金物)今にして思えばガタモ大きいですし、ボルトもスプリングワッシャを使っていなかったりで、手で回ります。
In retrospect, the battledore bolts (Z hardware) of those days were quite large, and the bolts did not use spring washers, so they had to be turned by hand.
やっと手に入るようになった構造用パネルOSB9mm(3×10版)
Structural panel OSB9mm (3×10 version) finally available
屋根には1層目の断熱材を敷き詰めて、ブルーシートを掛けて雨養生。
The first layer of insulation was laid on the roof, and a blue sheet was placed over it to protect it from rain.
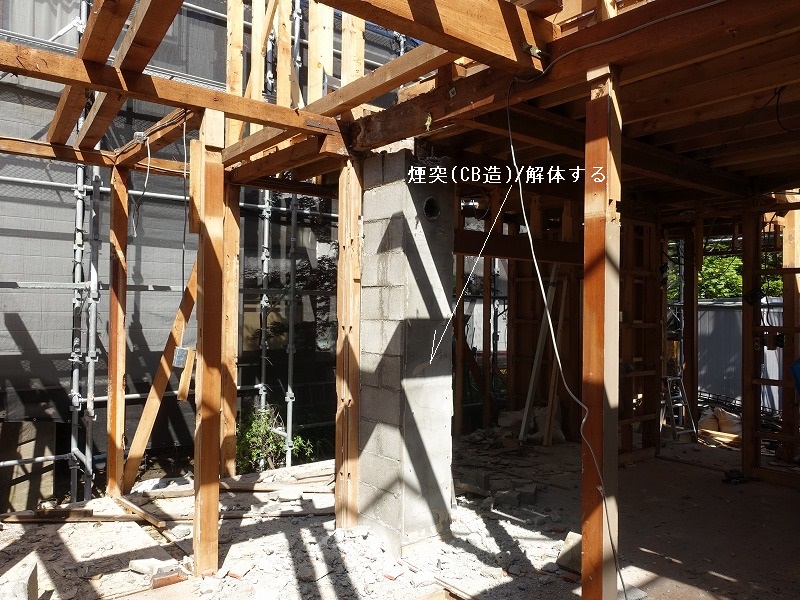
なぜ・・和室の長押や廻り縁はこんな風に大きく欠くんでしょう・・柱断面が乏しいものはこの際思い切って交換します。
Why are the long edges and edges of the Japanese-style room so badly damaged? I will take the plunge and replace the pillars with poor cross-sections at this time.